
Howdy! In this article, I am going to walk you through how to setup the basics of a Hugo static site with hosting handled by Azure Static Apps. If you haven’t already, I highly recommend you take a look at my article here, which provides an overview of all the components of this project. It should add a fair amount of context to what we’re going to be working on in this article and make things significantly less confusing.
The steps in this article were primarily adapted from these sources. I recommend checking them out if you run into issues:
- https://github.com/adityatelange/hugo-PaperMod/wiki/Installation
- https://learn.microsoft.com/en-us/azure/static-web-apps/publish-hugo
- https://gohugo.io/getting-started/quick-start/
Prerequisites
Before we get started, there are a couple prerequisites that I reccomend you do if you haven’t already:
Software:
- Install VSCode: https://code.visualstudio.com/docs/setup/setup-overview
- Install Git: https://git-scm.com/downloads
- Winget install cmd:
winget install --id Git.Git -e --source winget
- Winget install cmd:
- Install Hugo: https://gohugo.io/installation/
- Winget install cmd:
winget install Hugo.Hugo.Extended
- Winget install cmd:
Accounts:
- Create a GitHub account: https://github.com/
- Create an Azure account: https://azure.microsoft.com/en-us/pricing/purchase-options/azure-account/
With that being said, let’s get on with the setup!
Creating the Hugo Site Directory Structure and Local Git Repository
First things first, we’ll start by creating our Hugo site directory structure.
Open up a new terminal in VSCode and cd into whatever directory you want to hold your local Hugo site files. Then create the directory structure using hugo new site SomeSiteName:
cd C:\Users\Buddy\Documents\SomeFolder
hugo new site SomeSiteName
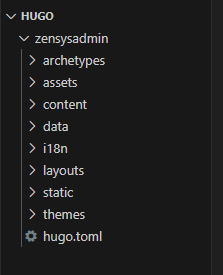
After you do that, you’ll see Hugo generate several files in the folder you specified:
Now let’s change the directory in your terminal to the newly created site: cd SomeSiteName
cd SomeSiteName
Next, we’ll initialize this folder as a git repository: git init
git init
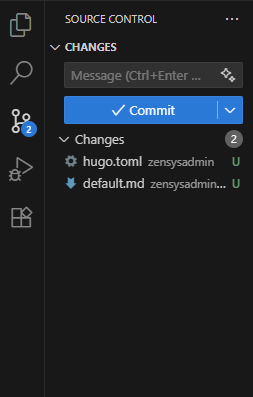
At this point, you should start to see some changes showing up in the Source Control panel in VSCode:
Before we continue, let’s make sure our git branch is named “main” to follow current git branch naming standards. Check the current branch name using git branch --show-current. If it’s not “main”, change it using git branch -M main:
git branch --show-current
git branch -M main
Applying a Hugo Theme and Modifying the Site Config File
Next we’ll choose and install our theme. https://themes.gohugo.io/ has tons of themes to look through. I decided on PaperMod for its clean look, excellent documentation, and popularity: https://github.com/adityatelange/hugo-PaperMod
I installed the papermod them using git submodule add --depth=1 https://github.com/adityatelange/hugo-PaperMod.git themes/PaperMod. The --depth=1 only clones the latest revision. This keeps size of the submodule much more manageable.
Papermod documentation also asks to run ’
git submodule update –init –recursive’ to ensure that papermod is initialized and updated with the current commit / version
git submodule add --depth=1 https://github.com/adityatelange/hugo-PaperMod.git themes/PaperMod
git submodule update --init --recursive
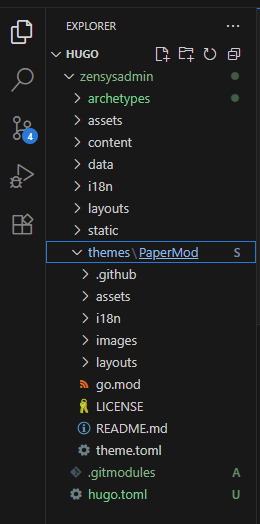
Once you do this, you should see the theme files populate in the themes directory:
Next we need to define the theme we are using in the Hugo config file. By default Hugo uses TOML format for front matter configuration. In my experience most themes and documentation use YAML so opted to change it. At this point, it’s easiest to just convert the default hugo.toml to the hugo.yml format manually. Just rename the file to hugo.yml and change the text as shown below:
- Before (TOML):
baseURL = 'https://example.org/' languageCode = 'en-us' title = 'My New Hugo Site' - After (YAML):
baseURL: "https://example.org"
languageCode: "en-us"
title: "My New Hugo Site"
Now we can define the theme and make some basic changes to our hugo.yml config file:
baseURL: "https://zensysadmin.com"
languageCode: "en-us"
title: "Zen Sysadmin"
theme: "PaperMod"
Now that we have the barebones of our Hugo site set up, we can do our first Git commit!
First we have to stage all of our Hugo files using git add --all.
Then we can commit our changes using git commit -m "initial commit".
git add --all
git commit -m "initial commit"
- Note: if you haven’t done so yet, Git will prompt you to define a username and email to use with Git. I just use what I use with GitHub:
git config --global user.name "SomeGitUsername"
git config --global user.email "SomeGitEmail@Whatever.com"
Creating a Remote Repository in GitHub
Now that we have a local repository with our Hugo site, let’s push it to GitHub so Azure can access it for deployment.
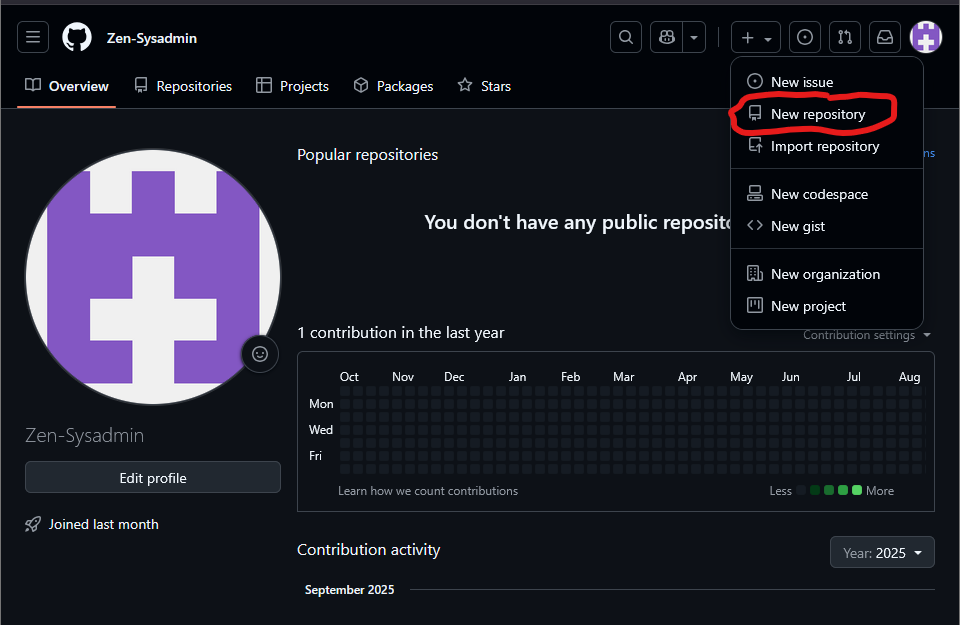
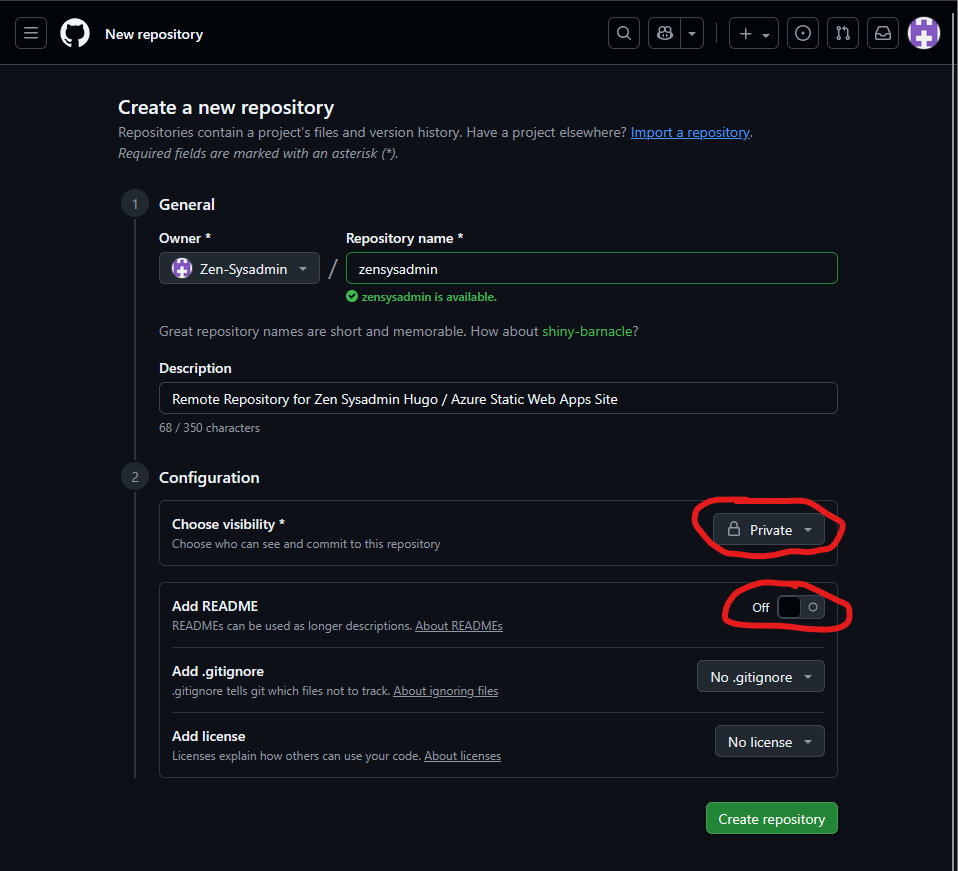
Head over to GitHub and create a new repository:
In my case, I set the visibility to private and opted not to add a README to avoid conflicts when doing our initial push:
Once our remote repository is created in GitHub, we need to push our local Git repository to this remote repository.
First add the remote repository using git remote add origin https://github.com/SomeGithubAccount/SomeRepositoryURL.git
Then push the main branch to the remote repository using git push -u origin main.
git remote add origin https://github.com/SomeGitHub/RepositoryURL.git
git push -u origin main
- Note: You may need to authenticate and give Git access to your GitHub account if you haven’t done this before.
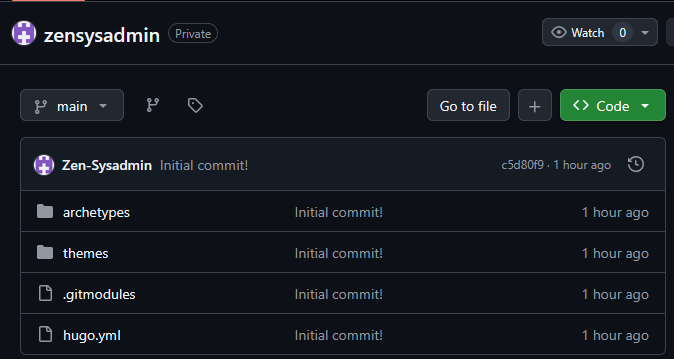
And would you look at that, our files in our local repository have been pushed to our GitHub remote repo! The directory structure in GitHub might look a bit empty in comparison with our local repo, but that’s just because Git ignores empty folders.
Setting Up Azure Static Web Apps
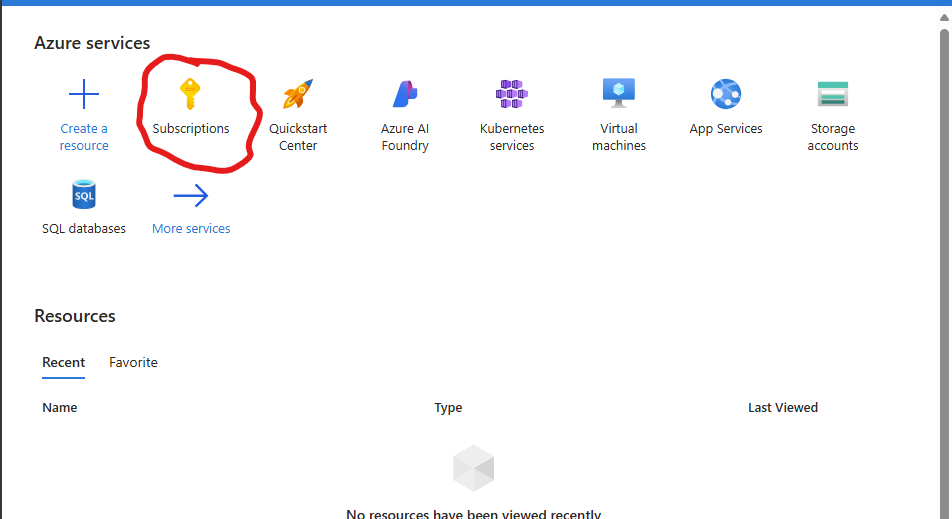
Last but not least, we are going to have to setup our Azure Static Web Apps subscription. Head over to portal.azure.com.
First things first, we’ll need to create an Azure subscription if you don’t already have one.
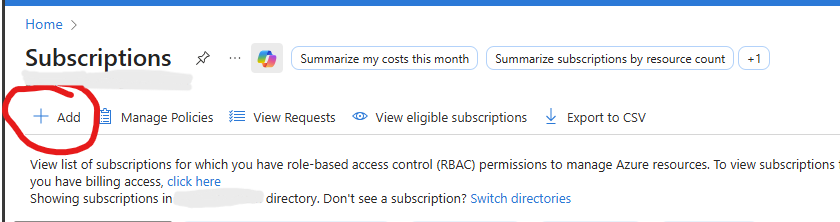
In the Subscriptions panel, click “Add” to create a new subscription.
Add a descriptive subscription name so you know what it’s for, and add your billing information. We are going to be using the free Azure Static Web Apps tier, but Microsoft still requires you to have a billing account. I just left everything else as the defaults. Once you are ready, click Create.
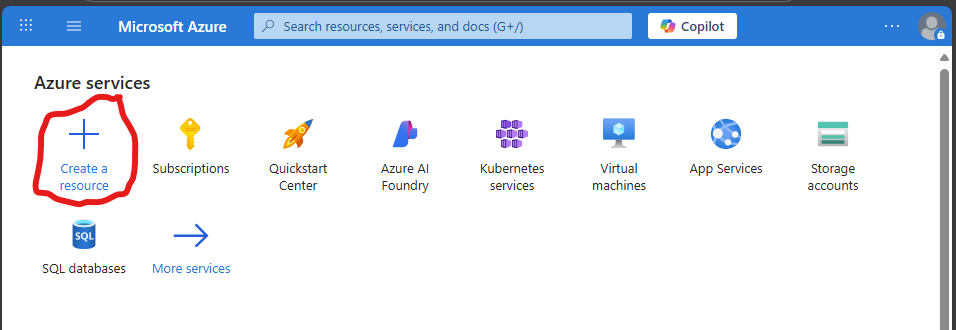
Next, we’ll create a resource for our static web app.
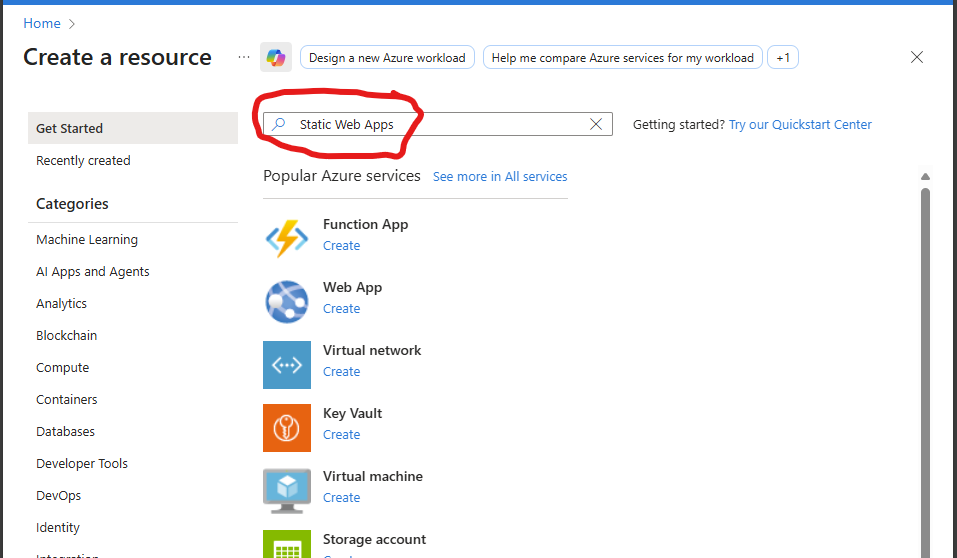
In the “Create a resource” dialog, search for “Static Web Apps”:
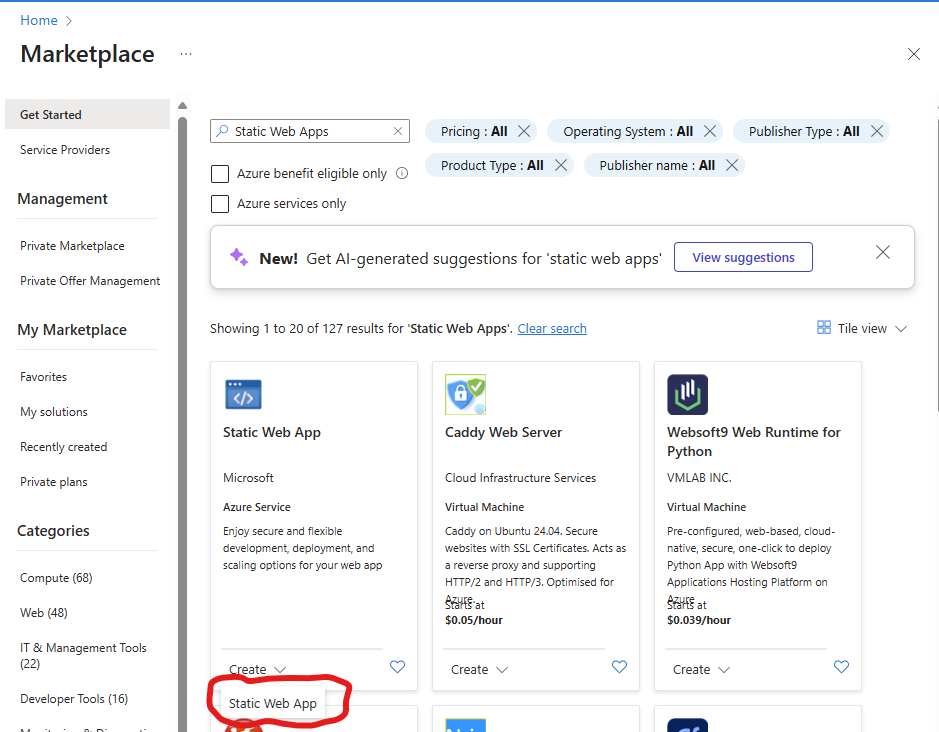
And start the Static Web App creation process:
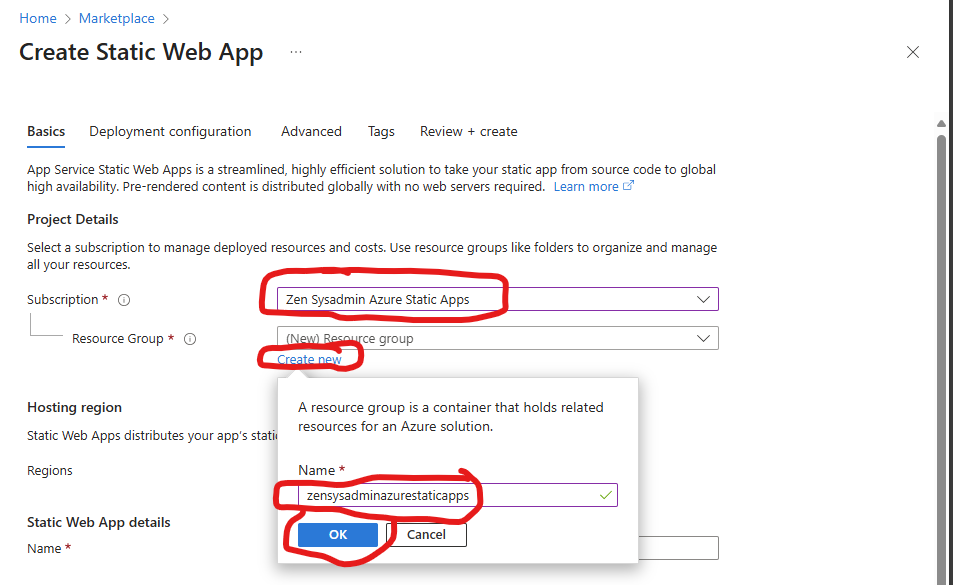
Select the Azure subscription that you just created and create a new resource group for the Azure Static Web App. We aren’t going to be managing many resource groups in this subscription, so don’t worry too much about naming.
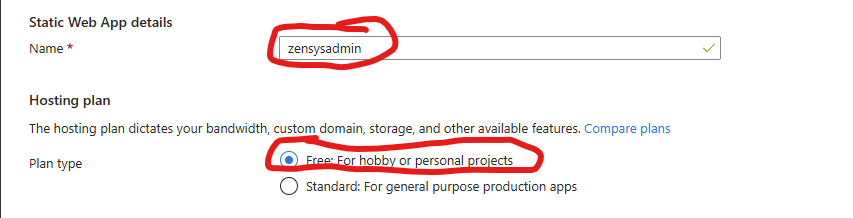
Name your static web app something descriptive, and set the plan type to Free.
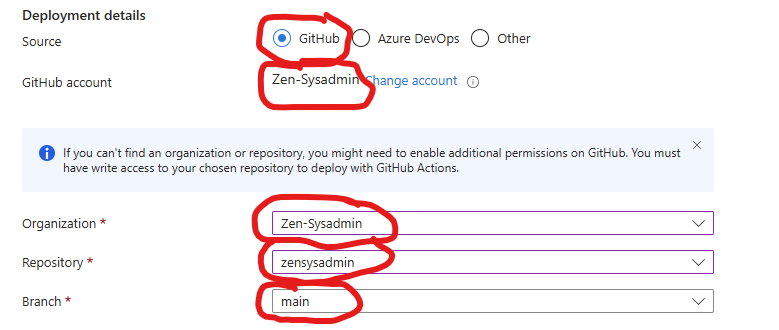
Under “Deployment Details”, set the source to GitHub and make sure the GitHub account selected is the one that you’re using with the remote repository you created. Then select the remote repository you created earlier and the main branch.
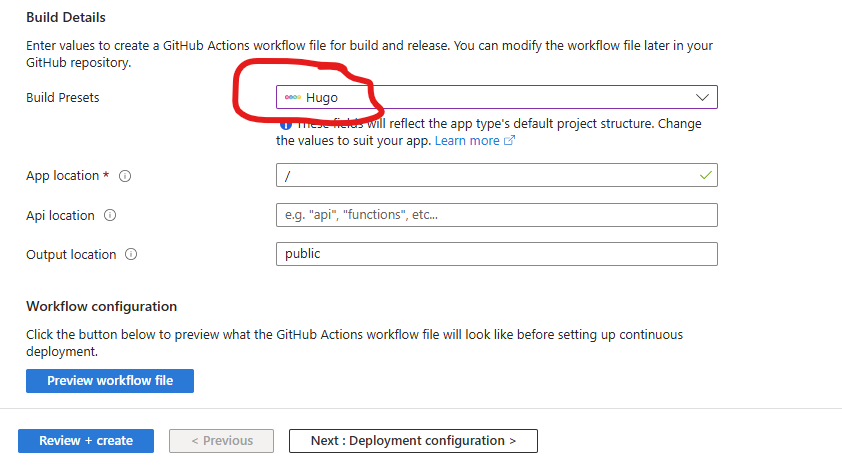
Under “Build Details”, select “Hugo” under build presets and leave the rest of the defaults.
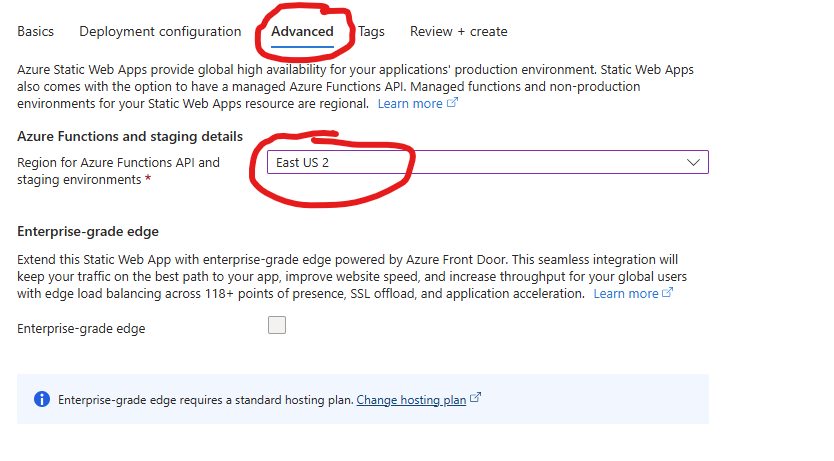
Click the “Advanced” tab, and select the region closest to you under Azure functions and staging details.
Then click Review + Create. Then click Create


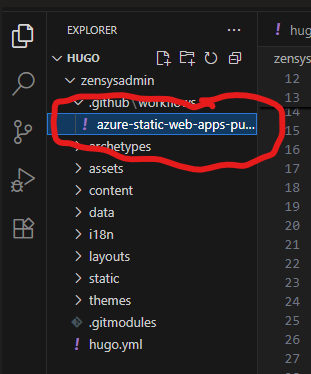
Sweet! Now Azure Static Web Apps is set up. If you head back to GitHub, you’ll notice there’s a new file under .github/workflows. This is the GitHub Actions workflow file that Azure automatically created.
If all went according to plan, GitHub Actions should automatically build your Hugo website files and deploy them to Azure Static Web Apps. You can watch the deployment progress in the Actions tab:
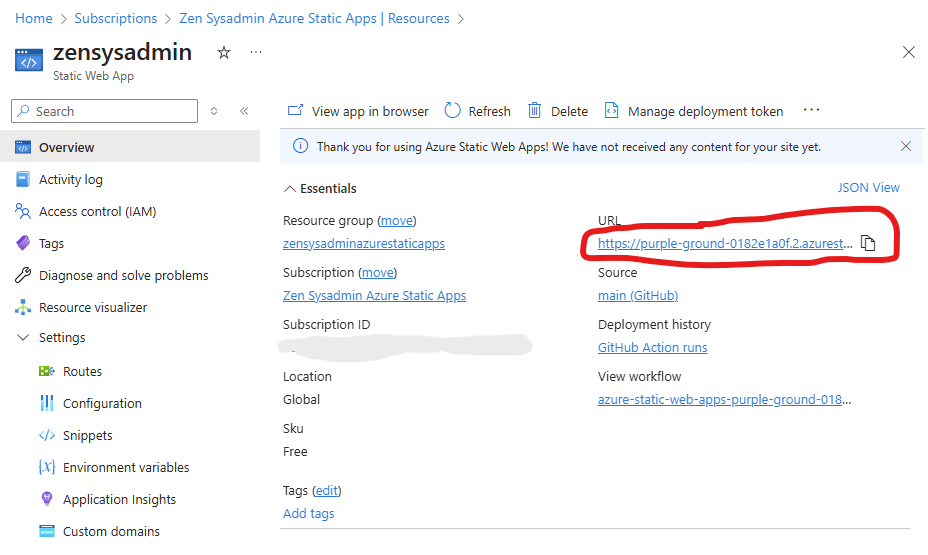
Once the deployment completes, you should have the barebones of your site up and running! Go to Azure Static Web Apps, find the URL for your site, and test it out.
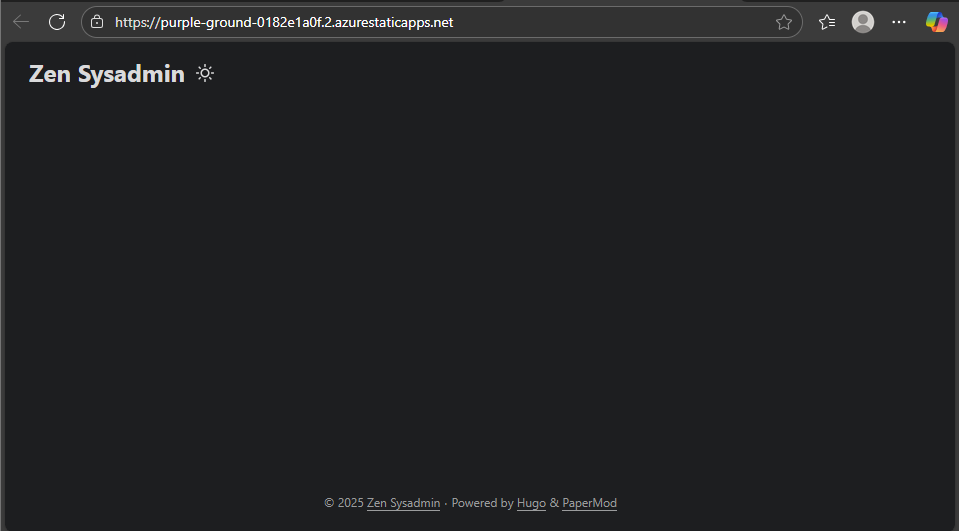
Congrats! It won’t look like much at first, but this will be the blank slate for building your site to your liking! Every time you push changes to your GitHub repository’s main branch, GitHub Actions will automatically rebuild and redeploy your site.
From here you can:
- Set a custom domain
- Customize your theme
- Add content